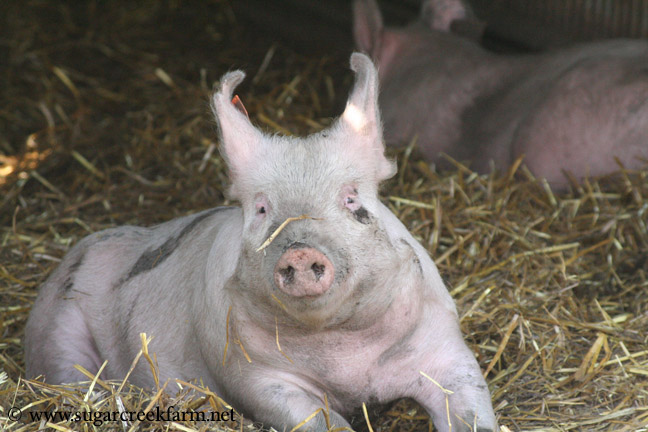
This is one of Madeline’s fair pigs. His crazy look was cracking me up the other day!
3 years ago:
2 years ago:

This is one of Madeline’s fair pigs. His crazy look was cracking me up the other day!
3 years ago:
2 years ago:
Rafe’s kindergarten teacher got an incubator and some hatching eggs for their class this spring. Quite an exciting event for them! I don’t remember how many eggs they started out with but finally 3 hatched, right during class on Thursday. So they made these cute “The chicks are here!” hats, and got to show off their chicks to the whole rest of the school.
I am so going to wear that hat every time I get a new batch of chicks this summer.

His teacher had already talked to me about taking the chicks after they hatched, and she was ready to re-home them after school on Friday. 2 of the 3 had bad legs. So the janitor was good enough to take them. (As Rafe’s teacher explained, he had a special place for them.) And one little chick got to come and live with us.
Rafe named him Peep.
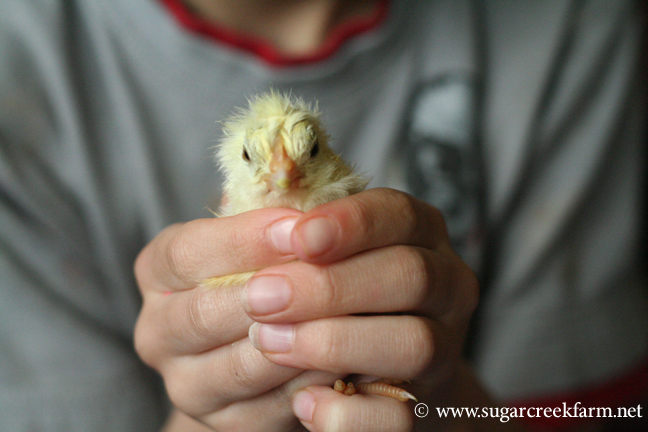
Peep is too small to stick in the brooder with the 3-week-old broiler chicks. So we put him in a Rubbermaid tote with a heat lamp hung above it. But chicks are like most animals. They don’t like to be alone. I had one runt in my batch of broiler chicks so I pulled him out and stuck him in the box with Peep.
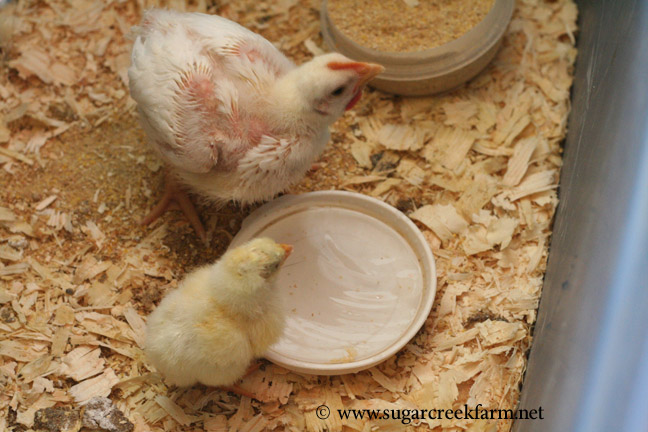
Whenever Big Chick eats, Little Peep eats. Whenever Big Chick drinks, Little Peep drinks. Quite cute!
Peep is a broiler, but I’ve promised Rafe we won’t butcher Peep. So after he gets big enough I guess he’ll get to go free-range with the laying hens.
That should be interesting.
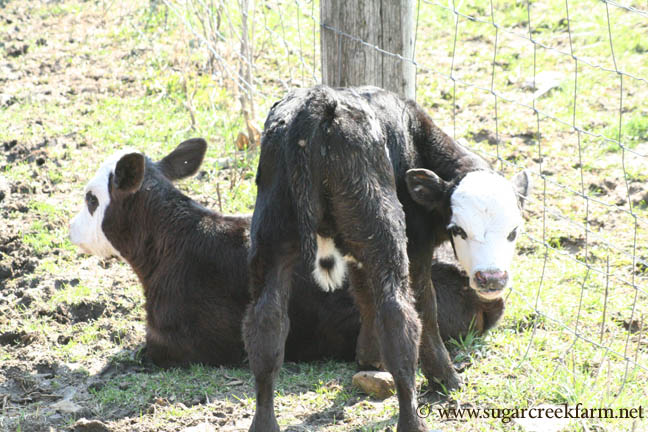
Calf #3 shows off his flexibility. It gives me a charlie horse just to look at him!
3 years ago:
2 years ago:
1 year ago:
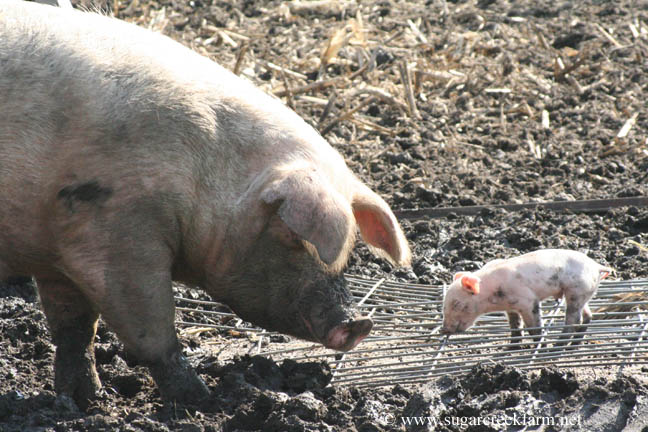
It’s just like in the card game, where you say “Uno!” when you’re down to your last card. This awful spring we’re having – they’re calling for snow on Sunday – has us down to the last pig in the litter.
3 years ago:
I told you I was going to tantalize you with pork recipes, and an ulterior motive of selling the hogs we’re taking to the butcher next Monday the 28th. So far it’s working, because we’ve sold 2 this week! So here’s another recipe to further tempt you.
Soup season is coming to an end, but I’m still craving it on these rainy April days. And yet these rainy April days are some of the busiest, with all of the spring animal babies, the yard work and gardening to be done, the kids’ overlapping sports (track, softball, volleyball, soccer), besides the day jobs and the normal work of keeping the household together. So there’s no time for the involved soups of winter. Bean & ham soup fits the bill perfectly!

You’ll need a one pound bag of dried beans. Pretty much any kind of beans will do. The bags with all different kinds of beans, usually called a “soup mix”, are nice. But our little local grocery store doesn’t always have those. In that case I just use northern or navy beans.
Put the beans in a colander and rinse them under cold water. Pick through them real quick and pick out anything that looks objectionable. Then dump them in the crockpot.
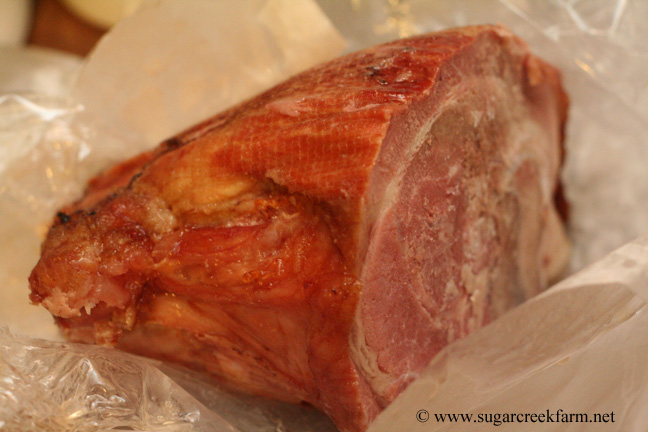
I use smoked ham hocks for this soup, but you could also use the leftover bone and meaty bits from Sunday’s ham dinner. Throw that in the crockpot with the beans.
Some bean soup mixes come with flavoring packets. You can sprinkle that over the ham & beans if you want. I didn’t notice when I bought them, but the beans I bought came with a Creole seasoning packet. That didn’t sound too great to me, so I ditched it. Instead I seasoned the soup with a tablespoon of salt, a teaspoon of granulated garlic, and a couple of bay leaves. If you’re watching your sodium intake, omit the salt entirely. The ham hock is salty enough.
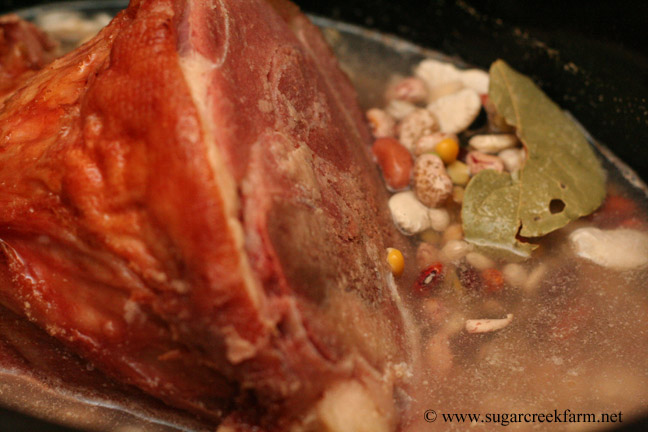
Cover the whole mess with about 3 quarts of water. Cook in the crockpot on high 8 to 10 hours. Newer crockpots cook hot enough that 8 hours is sufficient. Older crockpots cook at a lower temperature and may need another hour or two to get the beans cooked through.
Before serving, remove the bay leaves and discard. Remove the ham hock, shred the meat from the bone, and add the meat back into the soup. Give it a good stir and it’s ready to eat!
So, hungry now? If you’re finally ready to put a half or whole hog in your freezer, just email themillers92 (at) osage (dot) net to get on the list for Monday!
Bean & Ham Soup
1 ham hock or leftover ham bone & meat
1 pound bag dried beans
1 T. salt (optional)
1 t. granulated garlic
2 bay leaves
3 quarts water
Rinse and pick through beans. Place in crockpot with ham hock and seasonings. Cover with 3 quarts water. Cook on high 8 to 10 hours.
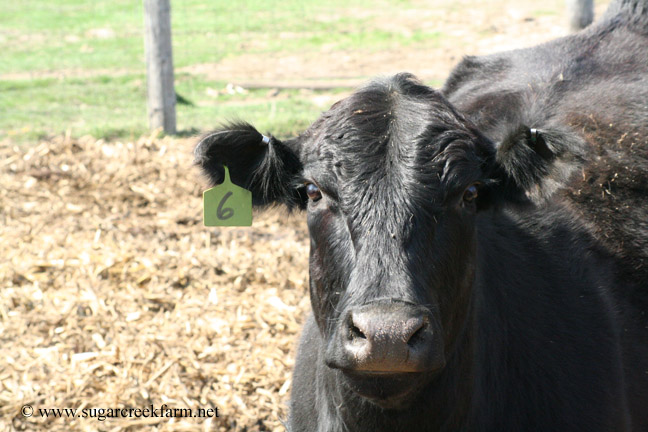
This is the look I got, trying to get a picture of Number Six’s new calf. She’s actually one of our more docile cows. But still, she didn’t appreciate me going all paparazzi, climbing on top of cornstalk bales trying to get a picture of her little guy.
However I succeeded in my mission – pictures soon!
3 years ago:
1 year ago:
Jeannelle @ Midlife by Farmlight tagged me last week. I’m supposed to post one picture of the view from my front door, and one picture of the view from my back door.
Of course when it comes to pictures, I can’t stop at just one.
So here’s the view(s) from our front door. I really should have taken a picture of the spot I’m standing in. Previous owners had removed the original porch. We had a new one put back on a few years ago, and I’m still in love with it.
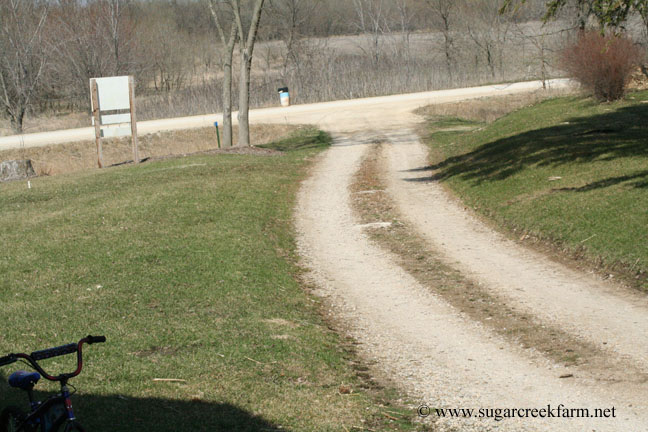
Looking north. And the end of our driveway is a “Sugar Creek Farm” sign that oldest daughter made as a 4-H project.
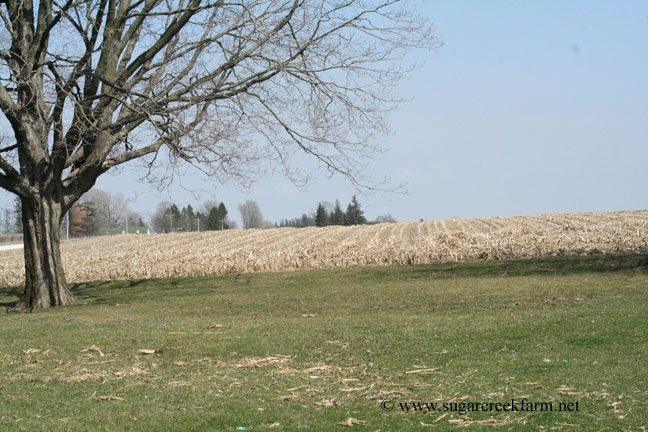
Looking east. A bunch of cornstalks to rake out of the yard. There’s a story there that has to do with snowmobilers.
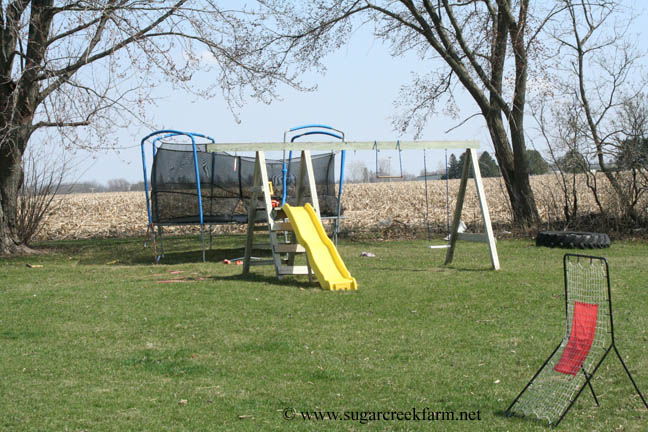
Looking northeast, the kid’s play area. It was finally warm and dry enough this weekend to break out the pitching net.

Looking south. The woodchip pile, some hay bales and cornstalk bales, the blue tractor, and the dilapidated machine shed. The animal sheds and lots sit on the south part of the farm.
And then there’s the view from the back door. Up until a couple of years ago, you couldn’t get out the back door because a previous owner had put that foam insulation stuff around the entire foundation and foamed right over the back door. Guess they didn’t use it. When we had the new basement put under the house we rectified that situation, and eventually added a deck back there. It’s a great spot to sit and watch the goings-on in the pasture and on the creek. No matter how hot it is it’s cool back there, sitting under a tree as it does.
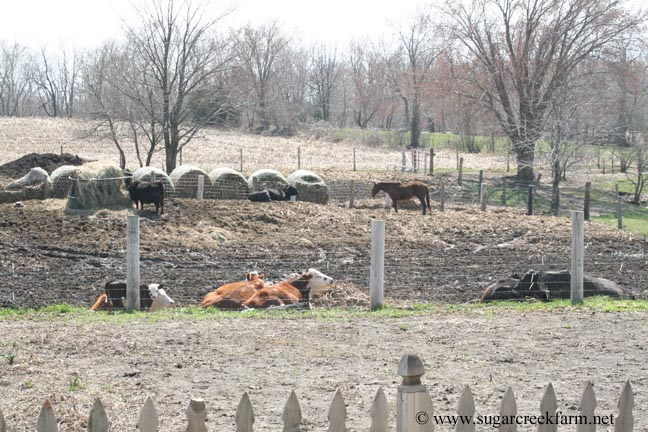
Looking south. The dirt in the foreground is our vegetable garden running east-west. The cattle are still in their winter lot – the pasture isn’t fit yet to turn them out. As you can see, everybody was just relaxing and soaking up the sun today.
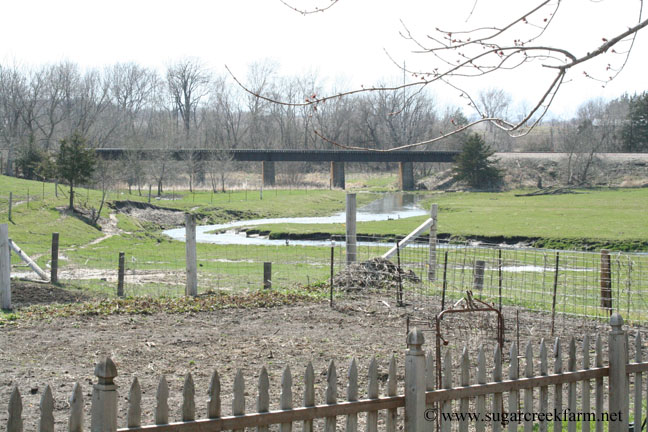
Looking southwest over the garden, the pasture and the railroad trestle. My favorite view.
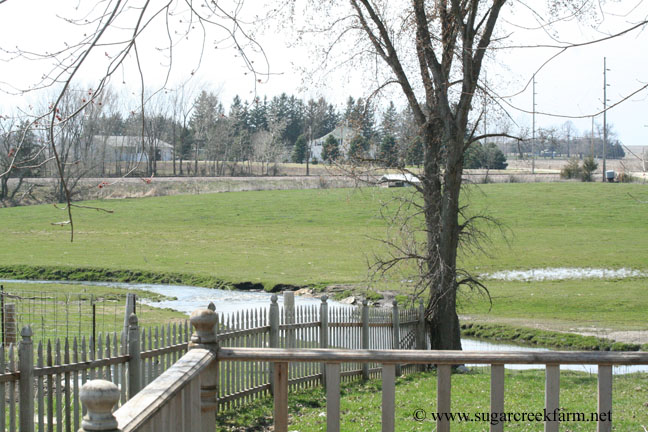
Looking northwest, you can (sort of) see the pasture shed for the broiler chickens, and a couple of neighboring houses beyond the railroad tracks. Hoping to move the broilers out there this weekend, if the weather cooperates.
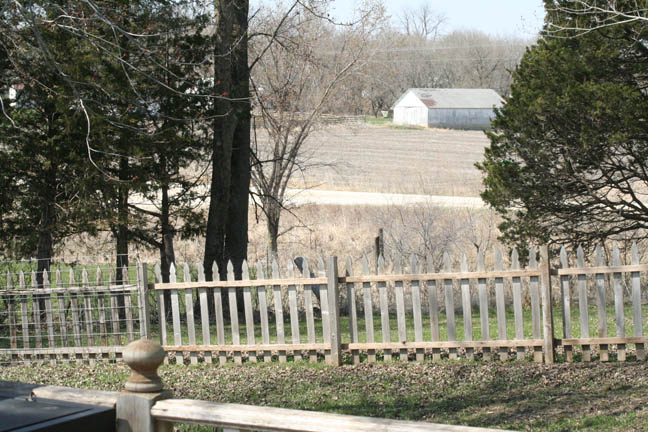
Looking north we see a part of another neighbor’s farm.
Now you’re it! If you’re reading this, consider yourself tagged! Be sure to come back here and leave a link in the comments to your own post. And then go visit Jeannelle @ Midlife by Farmlight. She’s a fellow Iowan and blogs from her dairy farm!
3 years ago:
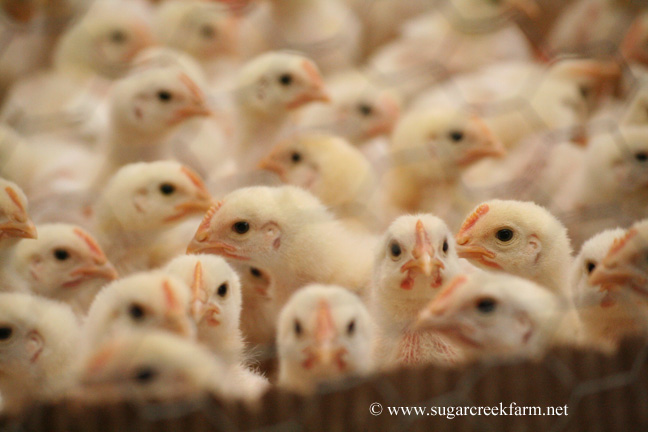
The broiler chickens have come to associate me with food. When I come in the garage they all run to the end of the brooder and try to peep over the edge to see if I’m filling their feeders.
3 years ago:
2 years ago:
I love the piglets at this age
1 year ago:
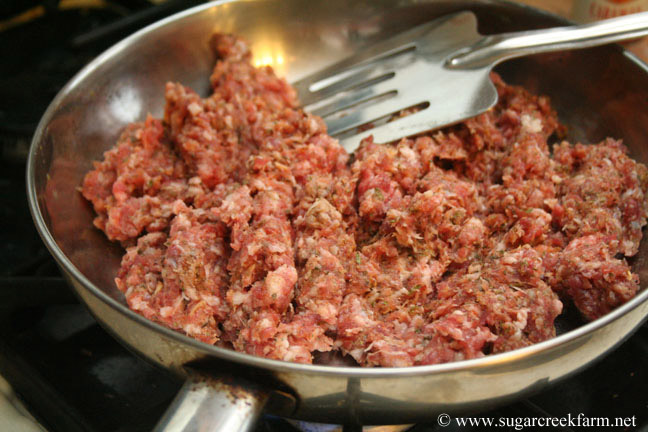
Ground pork is an under appreciated meat. I only just recently started cooking with it myself. It makes great maid-rite type sandwiches. It’s real tasty in place of ground beef in all kinds of Italian dishes. And I like to brown it with some seasoned salt as a pizza topping.
I’ve been wanting to experiment with seasoning plain ground pork for various types of sausage. Tonight was the night. I tried an Italian sausage recipe, and a breakfast sausage recipe, and used them to top a couple of homemade pizzas.
Let me tell you…it was easy, and it was delicious! I had to make some modifications because I didn’t have all the ingredients called for in the recipes I started with. For example, the Italian sausage recipe calls for anise or fennel seed. The only seeds I had in the house were caraway seeds, so in they went. But experimenting was half the fun! And now the wheels in my brain are turning with the possibilities for variations on the theme. I’m on a mission to create my very own secret family recipe 🙂
But I’m not there yet, so I’ll share with you my starting recipes. The great thing about making your own sausage is that you can omit unwanted ingredients such as msg or other things you might be allergic to, you can control the salt content, and you can make it as spicy or as mild as you like!
Each of these seasoning recipes is enough to season one pound of ground pork. To save time you could multiply the recipe, store it in a ziplock bag, and then just take out the amount you need each time. I put the ground pork in a bowl, and mixed the seasoning ingredients in a separate bowl. If you want you can run your seasonings through a spice grinder or coffee grinder. I prefer the au naturale quality of having bits of seeds and flakes of parsley visible in the final product.
And also I had a 6-year-old boy whiiiining about how staaaaaarving he was. So I took all shortcuts possible.
Sprinkle the seasonings over the meat and get ready to get your hands messy! Squeeze and mix the seasoning all through the ground pork with your hands. For optimum flavor you can then let it set in the refrigerator overnight so that the flavors really meld into the meat. I’m not that much of a planner-aheader, (and there was the aforementioned 6-year-old boy), so once I had it all mixed in good I immediately browned the meat. You could also shape the seasoned pork into patties and fry them.
So go ahead and experiment, get creative! Then come back here and let me know what you came up with…or keep your new recipe a family secret if you want 😉
If you’re interested in a half or whole hog, just email themillers92 (at) osage (dot) net. Last spring butchering date is Monday April 28!
Italian Sausage Seasoning
1 t. ground black pepper
2 t. dried parsley
1-1/2 t. dried Italian seasoning
1 t. garlic powder or 2 T. fresh minced garlic
3/4 t. crushed anise seed or fennel seed
1/2 t. paprika
1 t. minced dried onions
2 t. salt
Combine spices. Run through a grinder, if desired. Mix well into 1 pound ground pork. Refrigerate up to 8 hours, if desired. Brown meat, or shape into sausage patties and fry.
Notes: As I mentioned, I didn’t have anise or fennel seeds, so I substitued caraway seeds. Also I thought 2 t. salt made the final product too salty, so next time I will only use 1 t.
Breakfast Sausage Seasoning
1/2 T. brown sugar
1 t. dried sage
1 t. salt
1/2 t. ground black pepper
1/8 t. marjoram
pinch crushed red pepper flakes
pinch ground cloves
Follow directions given for Italian Sausage above.
Notes: I only had ground sage, so I substituted 1/4 t. for the dried sage. I didn’t have any marjoram, so I substituted 1/8 t. ground thyme there.